Shopify 사이트에 Freshchat 설치하기
Shopify 사이트에 Freshchat을 설치하는 것은 매우 쉽습니다.
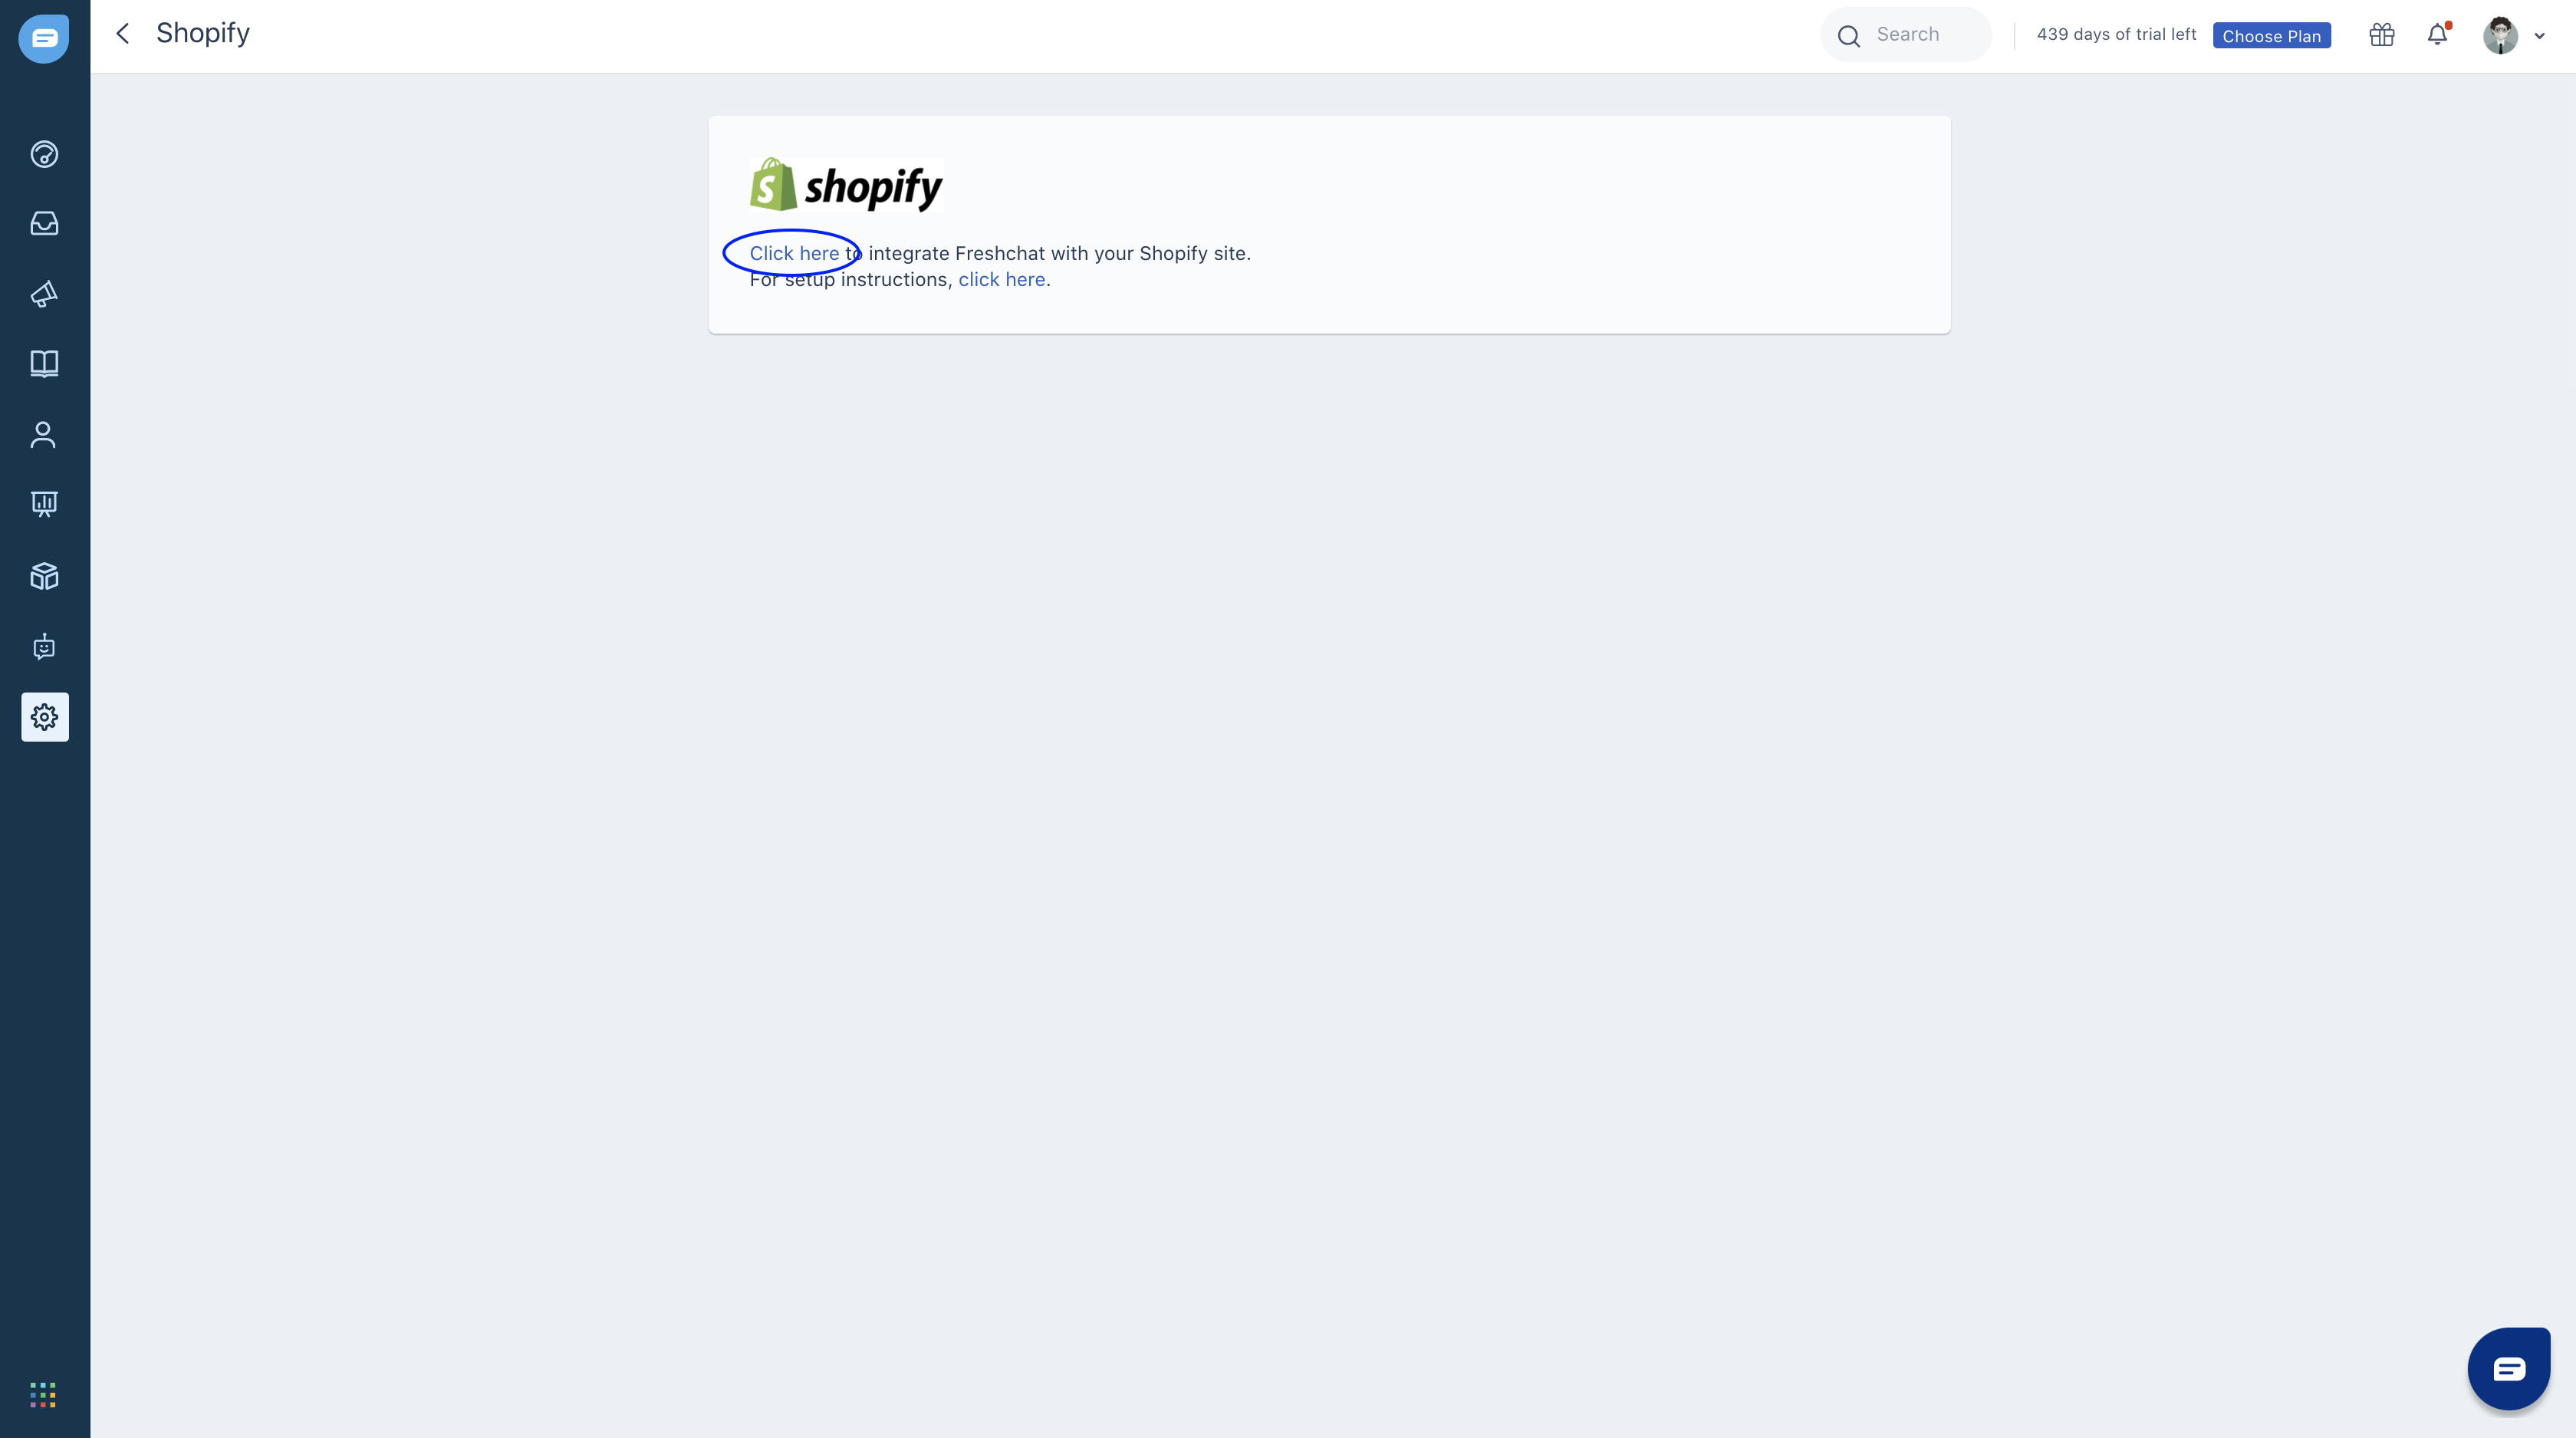
1. Freshchat 계정에 로그인하세요. Admin > Integrations > Shopify로 이동하여 '여기를 클릭'을 선택하세요.
2. shopify.freshchat.com으로 이동합니다. 여기에서 Shopify 도메인 이름을 입력하고 설치를 클릭하세요.
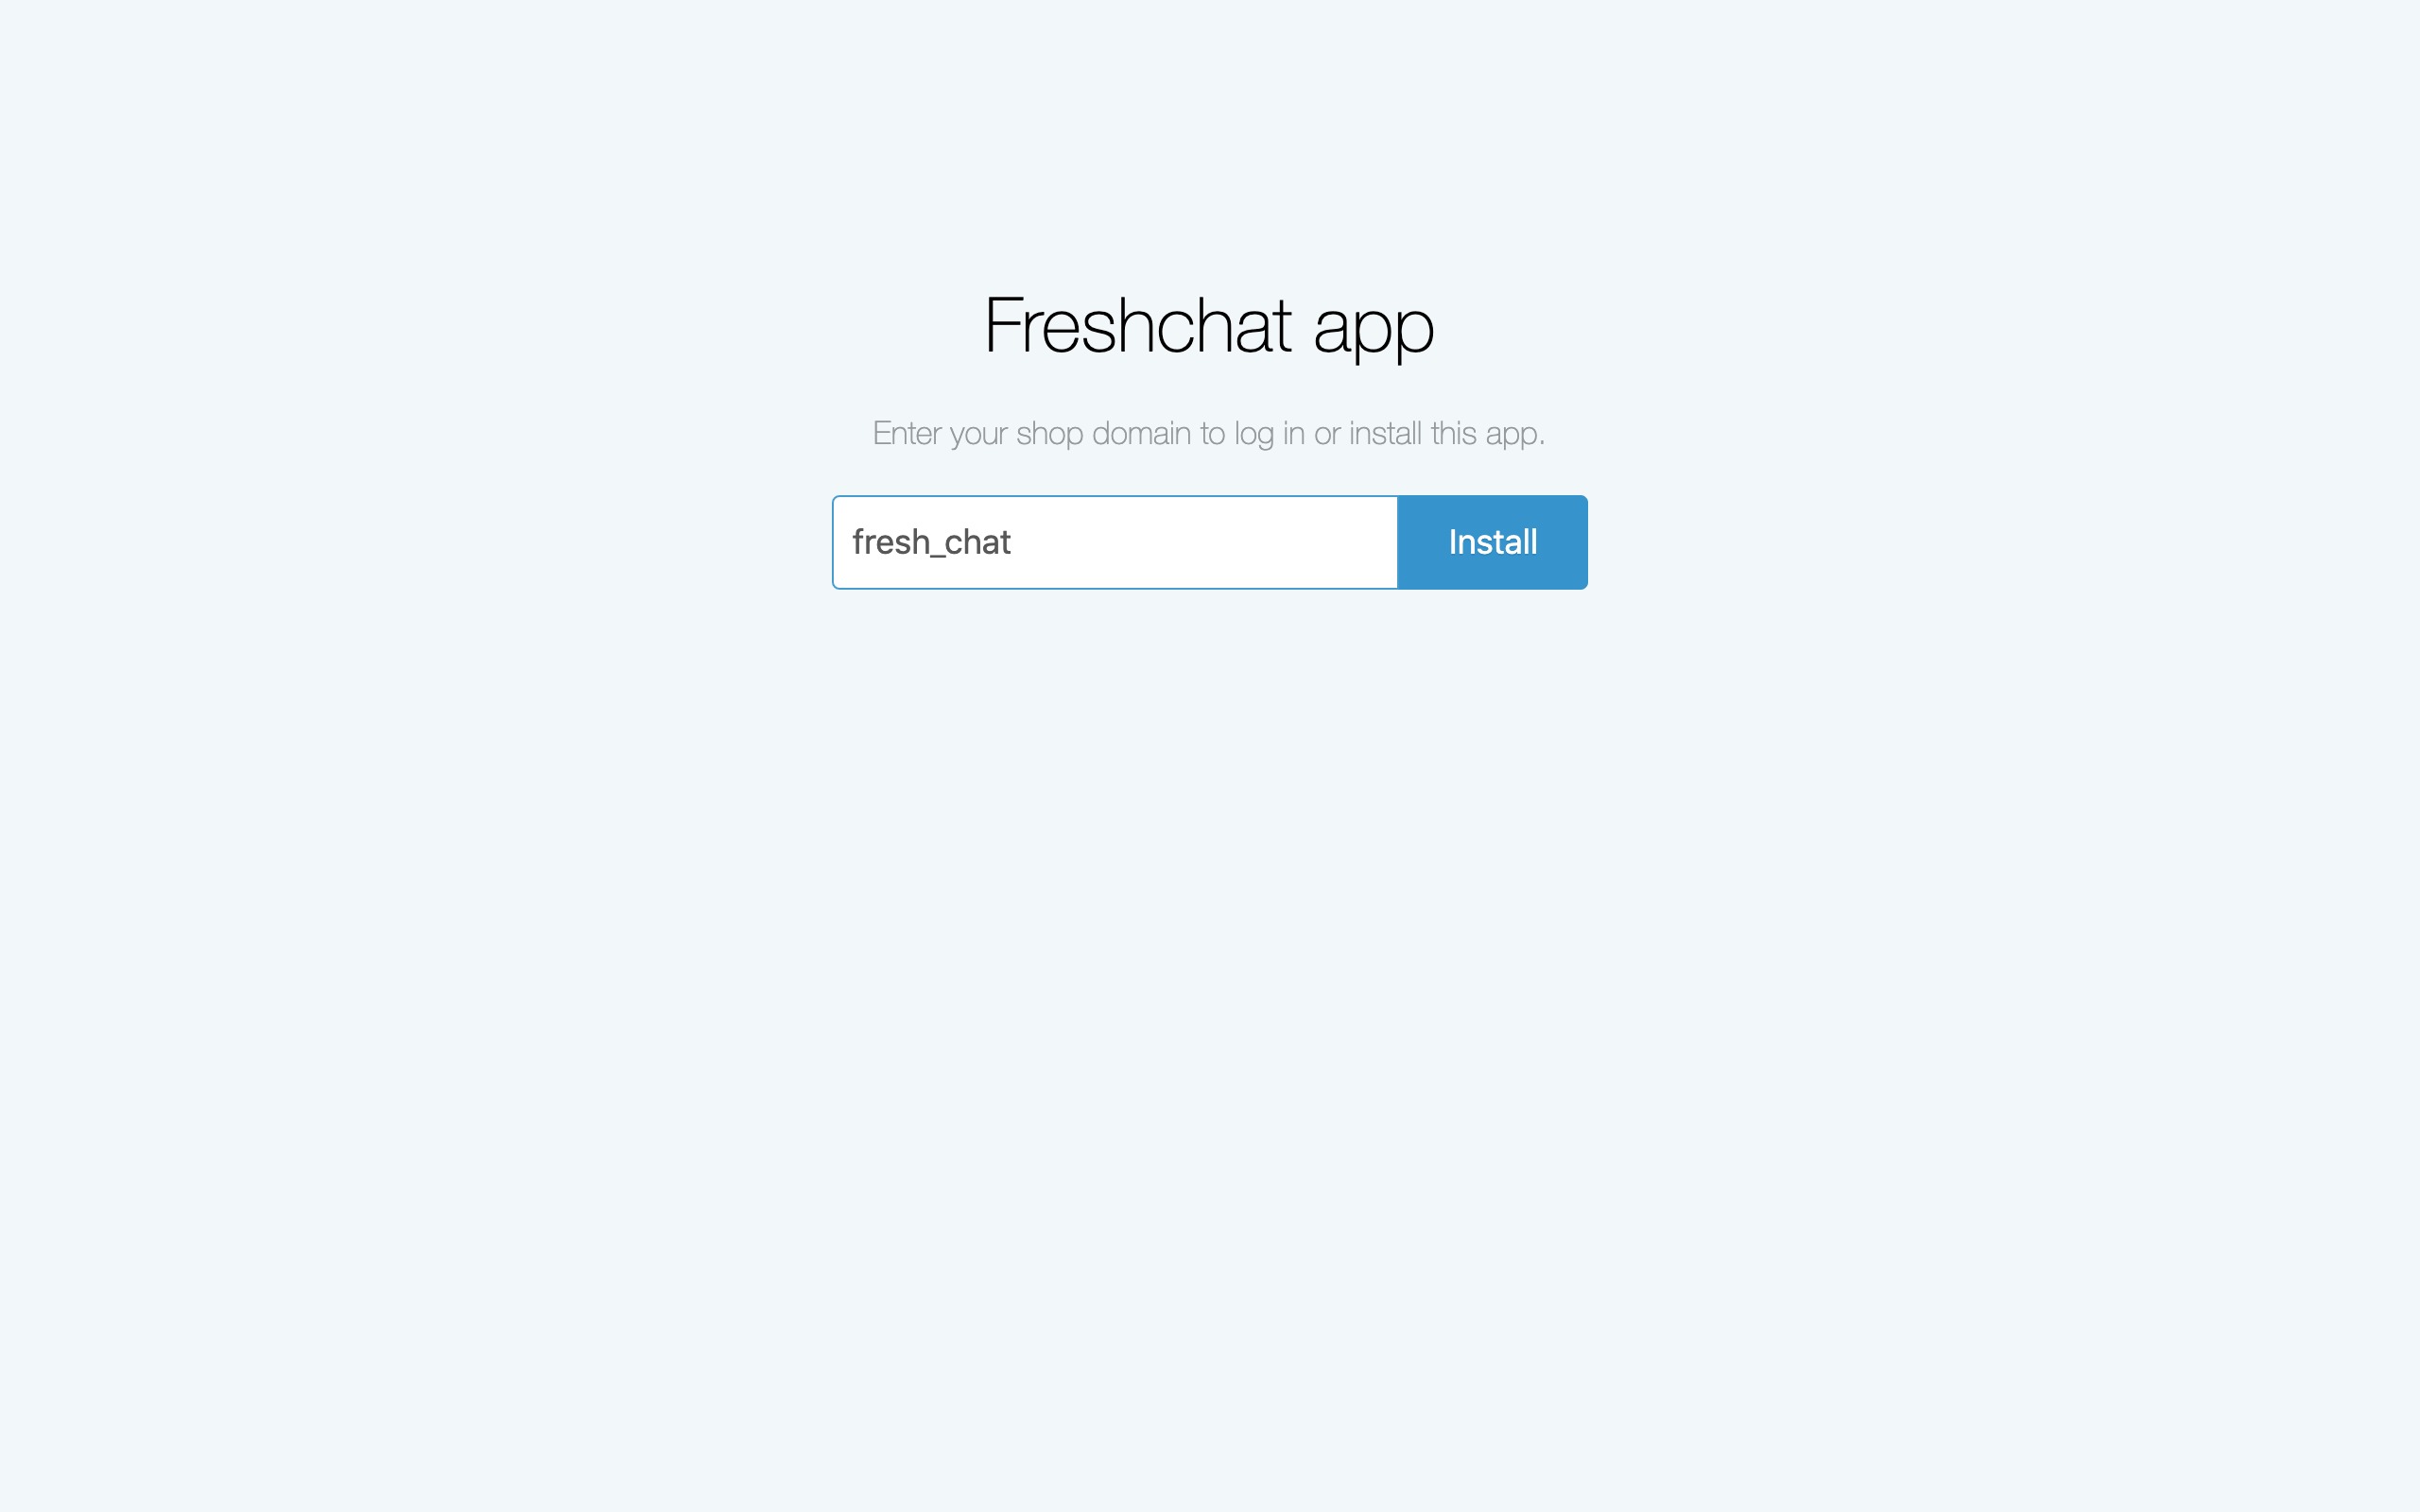

참고: Admin > Web Messenger > Step 2로 이동하여 Freshchat 토큰을 찾을 수 있습니다.
통합이 완료되었습니다.
참고: Google Chrome 브라우저에서 Shopify와 Freshchat을 통합할 수 없는 경우, Mozilla Firefox 브라우저를 사용하는 것을 권장합니다. 자세한 내용은 이 Shopify 문서를 참조하세요.
사용자 정의 속성
아래의 코드를 사용하여 Shopify 통합에서 사용자 정의 속성을 전달할 수 있습니다.
<!-- FRESHCHAT Snippet Start -->
{% if customer %}
<script>
   if (typeof window.fcSettings === 'undefined') {
    window.fcSettings = {};

   //Adding new object to set up Meta

    window.fcSettings.meta = {};
   }
   window.fcSettings.email = '{{ customer.email }}';
   window.fcSettings.firstName = '{{ customer.first_name }}';
   window.fcSettings.lastName = '{{ customer.last_name }}';
   window.fcSettings.externalId = '{{ customer.email }}';
   window.fcSettings.customerId = '{{ customer.id }}';

   //Adding Custom Properties via Freshchat

   window.fcSettings.meta.custom1 = '{{custom data property 1}}';
   window.fcSettings.meta.custom2 = '{{custom data property 2}}'
   window.fcSettings.meta.custom3 = '{{custom data property 3}}'
   window.fcSettings.meta.custom4 = '{{custom data property 4}}'  {% if customer.phone %}
   window.fcSettings.phone = {{ customer.phone }};
   {% endif %}
   window.fcSettings.shopify_token = 'SHOPIFY_TOKEN';
   {% if customer.metafields.freshchat.restoreId %}
   window.fcSettings.restoreId = '{{ customer.metafields.freshchat.restoreId }}';
   {% endif %}
</script>
{% endif %}
<!-- FRESHCHAT Snippet End -->
예를 들어, {{order.order_number}} 플레이스홀더를 사용하여 주문 ID를 사용자 정의 속성으로 보낼 수 있습니다.
window.fcSettings.meta.orderId = '{{order.order_number}}'